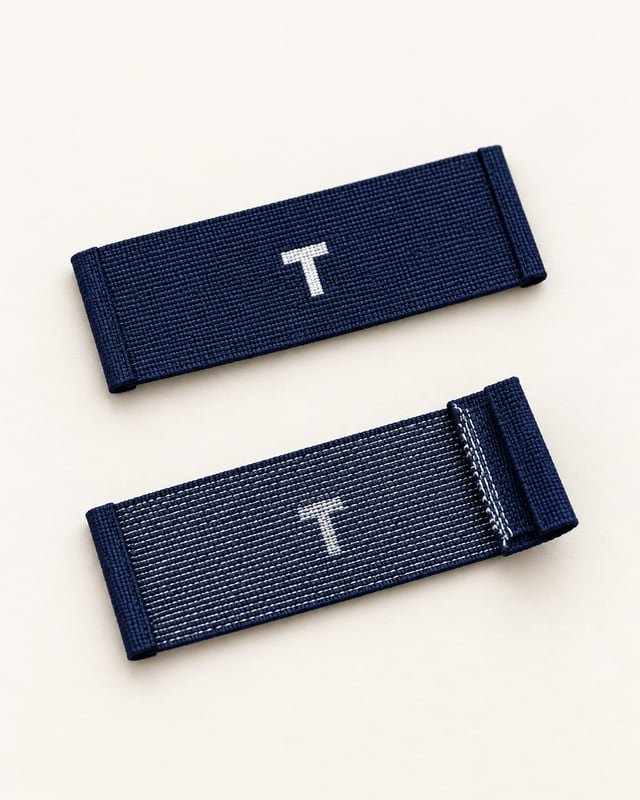
01 / Woven labels
Your name, woven in.
The design is formed in yarn. Compare the lettering, edge finish and feel at the size you’ll actually use.
- Decide together
- Label size, colors, fold and stitch position.
Custom workwear labels & trims
Neck labels, size tabs, hangtags and garment trims can all carry your identity. We’ll help you choose the format and position, then check how each detail looks and feels on the garment.
Have an existing label? A photo and its dimensions are a useful place to begin.
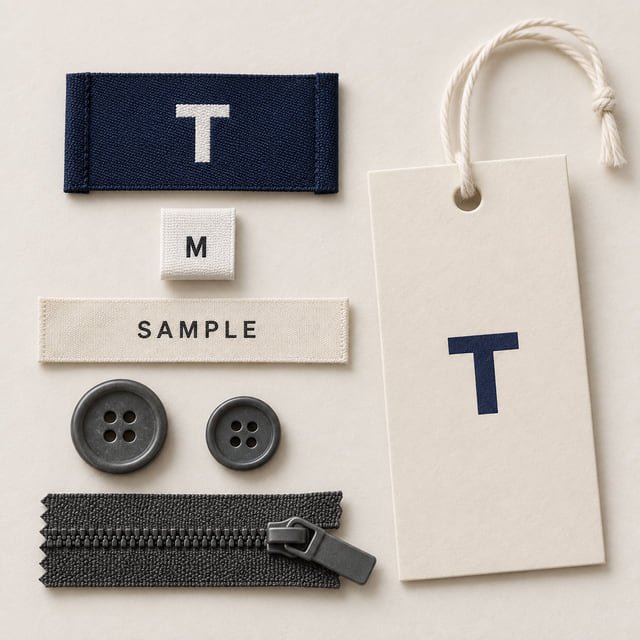
Three ways to carry your identity
A brand label, an information label and a hangtag do different jobs. You can use them together, with a size and finish that fit your design.
01 / Woven labels
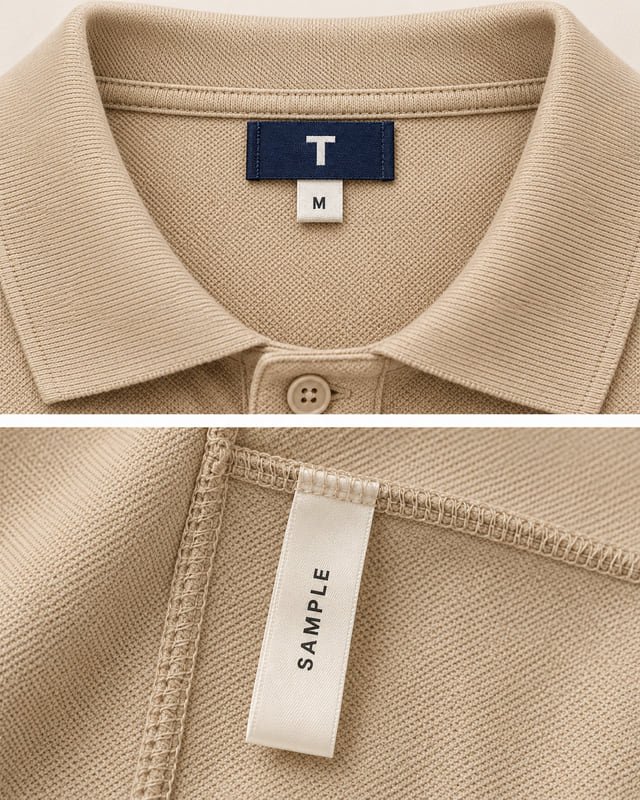
The design is formed in yarn. Compare the lettering, edge finish and feel at the size you’ll actually use.
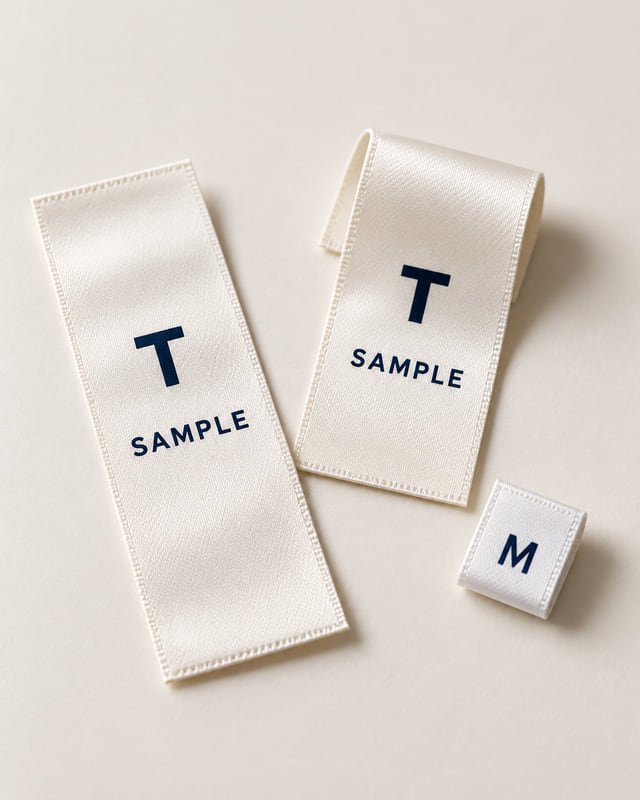
02 / Printed fabric labels
Printed fabric labels can carry your brand or garment information. Review the text, material and how the label sits against the wearer.
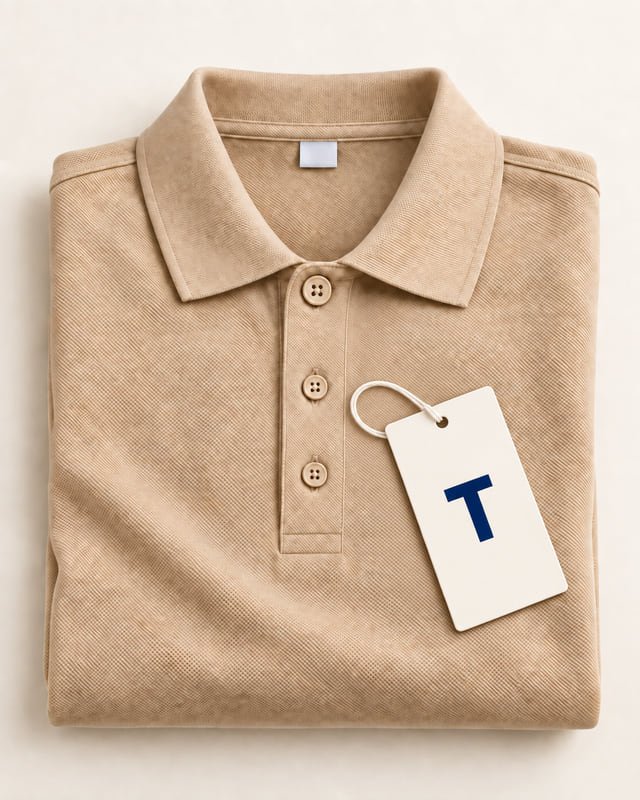
03 / Hangtags
A removable tag gives you room for branding and product information. Keep its message and attachment suited to how you hand over or sell the clothing.
Position matters
Look at the label on the garment, with seams, layers and movement in mind. Open a location below to see what’s useful to consider.
Keep the brand and size easy to find. Check the finished edges, fold and stitch line against the skin, especially where the garment fits closely.
Allow enough room to read the information without pulling the seam. Check that the label doesn’t sit where a belt, pocket or another layer will rub.
A small tab can identify the garment without a large chest logo. Agree which side shows, the exposed size and how it is secured at the edge or seam.
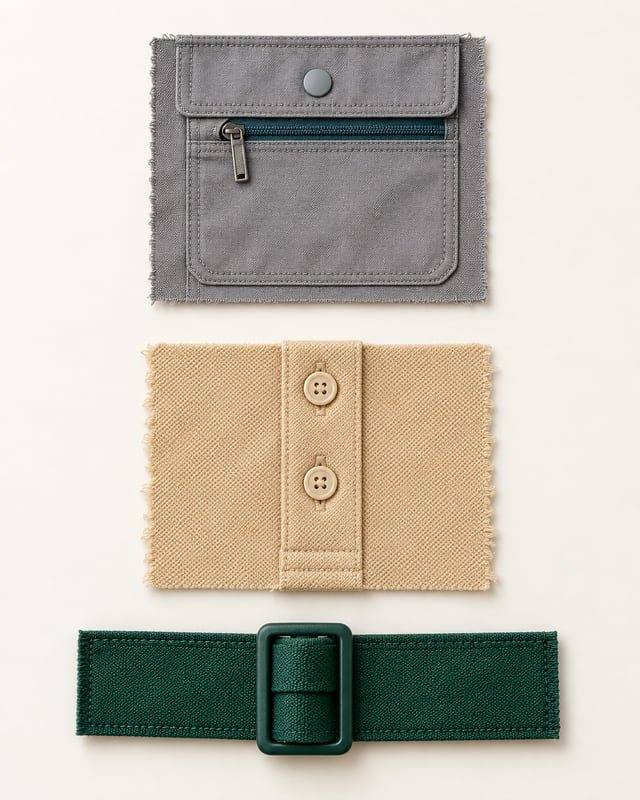
Buttons, pulls & adjusters
A different button or zip pull can change the look of the garment. It also needs to work with the fabric, opening and way the clothing is worn.
Before the labels are made
Send your artwork and any existing label specification. We can help arrange the layout; confirm the garment information before approving it for production.
Check spelling, sizes and any garment information, including fiber content, origin and care instructions. Match it to the actual garment and destination requirements.
Look at lettering, folds, seams and attachment space. A large on-screen artwork can hide how small the text will be.
Approve the material, placement and finished result together. Keep the agreed artwork version with the garment specification.
Labels & trims questions
Send what you already use, or tell us which part you’re still choosing.
Yes. Send your artwork or label reference, dimensions and where you want it placed. We’ll confirm the material, construction and order requirements with you.
Yes. We can help you explore a label layout with free design visuals. Materials, readable text size and the finished label are checked separately on the sample.
They can, depending on the material and production method. Tell us the garment quantity and your preferred details so we can confirm any separate quantities or costs before you decide.
Tell us which finish you want to compare. We’ll confirm what reference samples are available and the shipping arrangements. Making labels or trims specifically for your design is agreed and priced separately.
Bring your brand into the garment
Send a logo, label photo or garment reference. Add the approximate order quantity and we’ll help you choose the next step.