A logo or brand guide
Include the current logo and any rules about its colors, spacing or wording. Keep the original editable artwork if you have it.
Workwear artwork guide
Have a logo file, a photo or an idea for where it should go? Start there. We’ll help you work through the size, position and files needed to put it on your workwear.
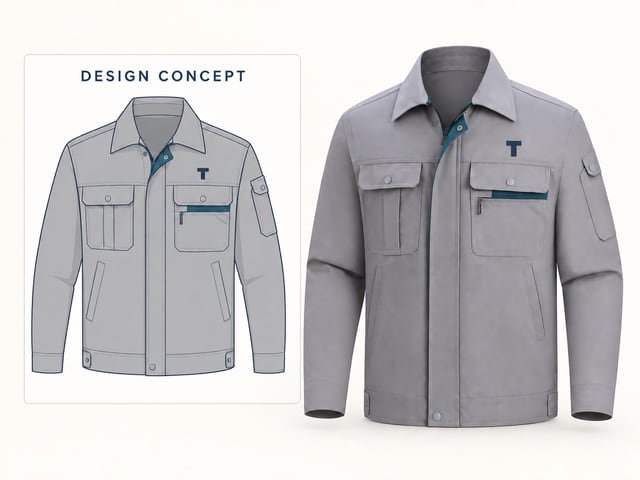
Free design visuals help you see the layout before you arrange a custom sample.
01 / Start with what you have
Send the clearest version available and a garment reference. If something needs preparing, we’ll explain what is needed before development starts.
Include the current logo and any rules about its colors, spacing or wording. Keep the original editable artwork if you have it.
Show the whole garment and a clear close-up. Tell us which details you want to keep and what you’d change.
A marked-up photo can explain a chest logo, back graphic or sleeve detail. It can be a starting point for a design visual.
Only have a screenshot? Send it for the first discussion. We’ll check whether a clearer original or revised artwork is needed for the sample.
02 / Make the position clear
“Left chest” means the wearer’s left. Add the finished logo dimensions and show where the measurements start. We’ll agree the final position for the garment.
Unsure about the dimensions? Tell us the look you want. We can suggest a layout for you to review.
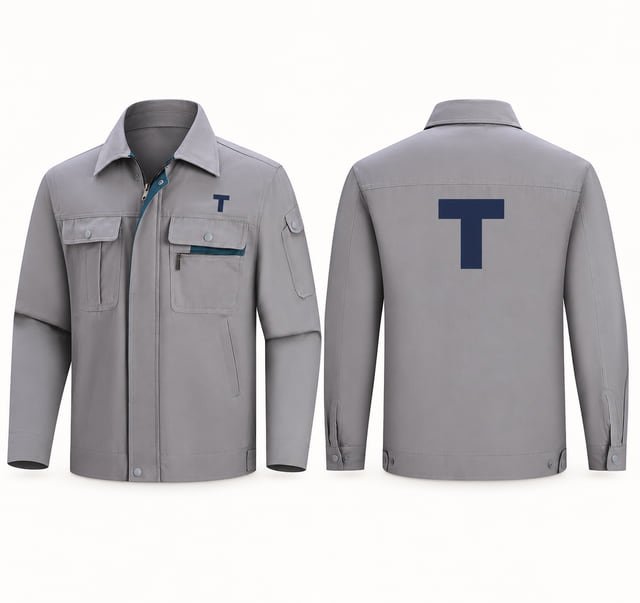
List each position separately. A chest logo and a back graphic can use different dimensions, artwork versions or methods.
Compare logo finishes03 / Keep the versions clear
Tell us which version is current and where it belongs. That is especially useful when departments, garment colors or staff names vary.
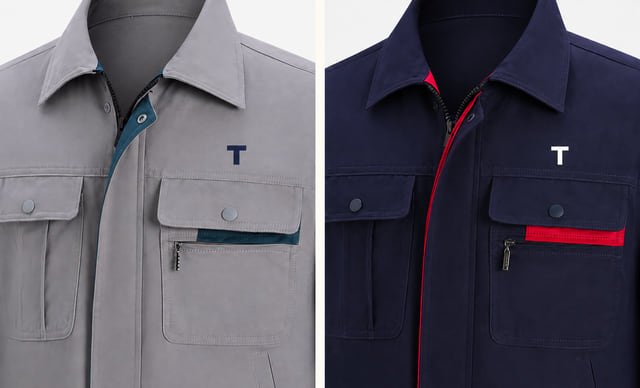
Identify the logo, wording, department and garment color for each version. Tell us whether a white background is part of the design or just the page behind it.
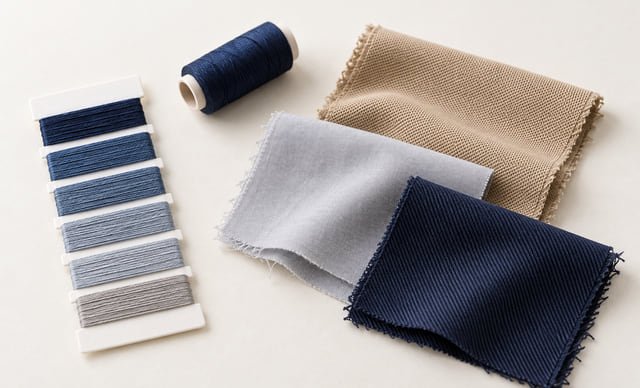
Share your brand guide, color codes or a physical example. A screen view helps explain the idea; the sample lets you review the color and finish on the fabric.
04 / From artwork to sample
We review the file, garment and proposed method together. A mockup helps you decide on the layout; it does not replace the final production artwork or the physical sample.
Logo version, dimensions, positions, colors and garment references.
We confirm any file adjustments or embroidery digitizing needed, along with development costs.
Check the lettering, finish, color, position and any backing on the chosen fabric. Record changes before approving.
Practical file questions
Keep your original files. A clear reference is enough for the first conversation.
Start an artwork enquiryThe form accepts PDF, JPG/JPEG and PNG: up to 5 files, 10 MB each and 25 MB in total. You can also add a reference link. If another source format is needed, we’ll agree how to share it with you.
In this local website preview, selected files stay on your device. Nothing is uploaded or sent.
If you have the original editable vector artwork, keep it available. Vector shapes can be resized cleanly, which can help with logo preparation. You can still start with a clear photo or image; we’ll confirm what the chosen method needs.
No. A PDF can contain vector artwork, pixel-based images or both. We need to look at the contents, detail and intended size, not just the file extension.
Embroidery needs stitch information prepared for the design, size and fabric. We’ll review the artwork and confirm the digitizing or adjustments needed before the sample is made.
No. Show us the logo, garment and effect you like. We can discuss the options, then confirm the file preparation and custom sample cost with you.
Ready when you are
Include a garment reference and any size or color details you know. We’ll help you fill in the gaps.