Home Customization Logos & decoration
Workwear logos & decoration
Your logo.Made for the garment. Send us your logo and tell us where you’d like it, such as the chest or back. We’ll recommend a suitable finish and show the placement in a free design visual.
Existing styles with your logo start at 20 pieces per style, with mixed sizes.
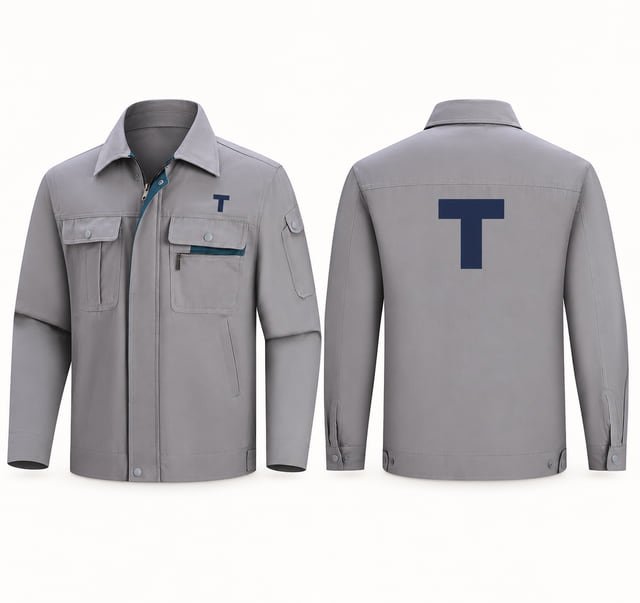
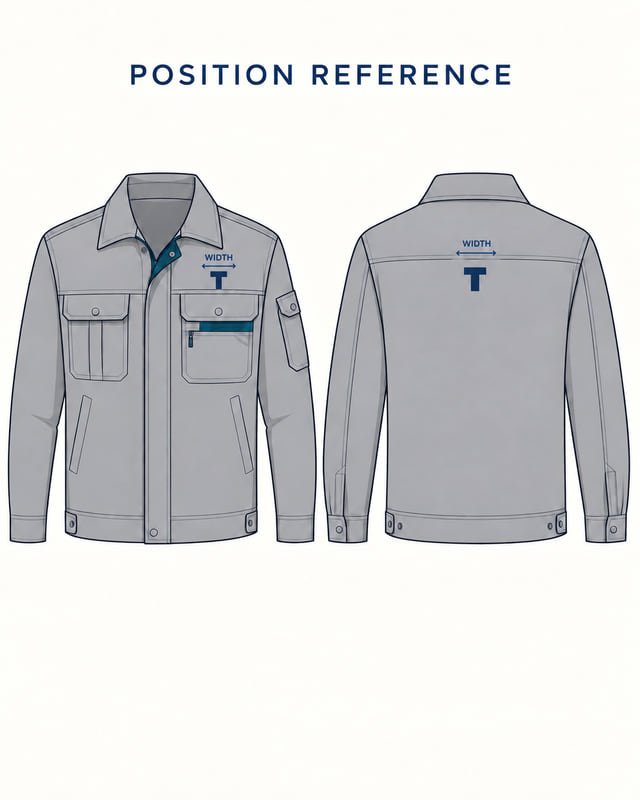
Reference illustration · Chest and back logo positions.
On this page Explore finishes ↗ Compare at a glance ↗ Size & placement ↗ Review a sample ↗
Five ways to add your branding
See the difference. See how the finishes look on a garment. If you’re unsure which to choose, send your logo and we’ll recommend a suitable option.
01 Embroidery 02 Heat transfers 03 Silicone & PVC patches 04 Direct printing 05 Reflective details
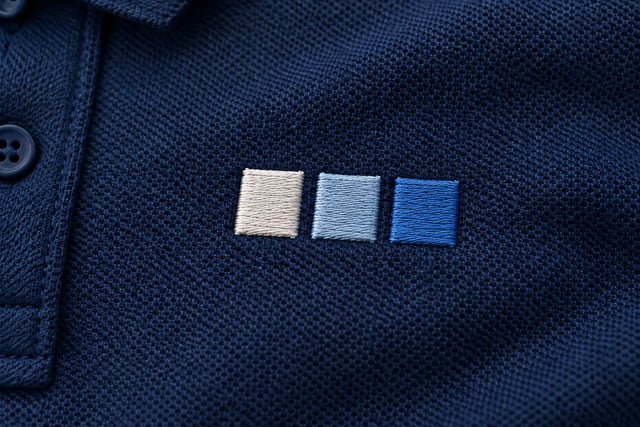
Technique illustration / Visible thread and stitched texture 01 / Embroidery
A logo made Stitching gives the artwork texture and depth. We’ll review the thread colors and how the lettering reads at the size you want.
Think about Fine letters, narrow lines and the fabric underneath. A small version of the logo may need simpler detail.
Check on the sample Lettering, edges, puckering and the feel of the backing against the skin. Ask about embroidery
Technique illustration / A thin transfer layer 02 / Heat transfers
Choose the feel The design is applied with heat and pressure. It can feel thin and flexible or have more height and texture, depending on the material and finish.
Think about Artwork detail, fabric stretch and washing. A thin transfer layer isn’t necessarily silicone; different materials give different results.
Check on the sample Edges, color, thickness, flexibility and the result after the agreed care check. Ask about heat transfers
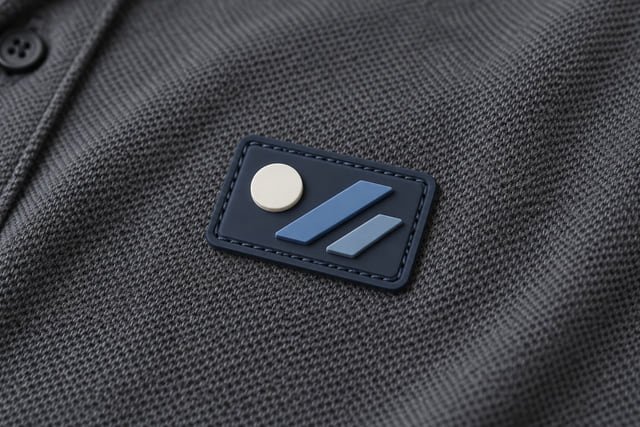
Technique illustration / Raised detail and a stitched edge 03 / Silicone & PVC patches
A shaped badge. A separate patch gives the logo its own outline and surface. Silicone and PVC are different materials; we’ll discuss the feel and shape you want.
Think about Patch size, thickness, flexibility and how it attaches. Its edge needs room around seams and closures.
Check on the sample The molded detail, edge finish, attachment and comfort when the garment bends or sits against the body. Ask about logo patches
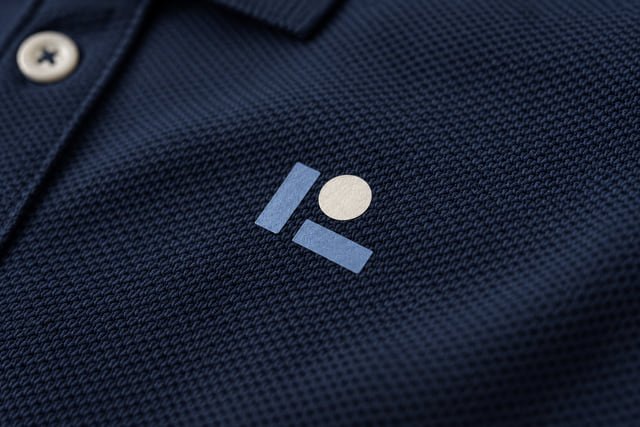
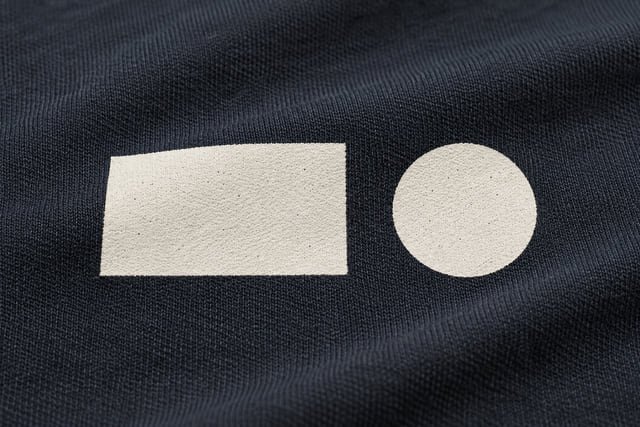
Technique illustration / Ink on the fabric surface 04 / Direct printing
The artwork, Ink is applied directly to the garment or fabric panel. We’ll discuss the colors, detail and feel you want, including any textured finish.
Think about The fabric color and surface, the area covered and fine lines. Direct printing can also have a raised effect; it isn’t always flat.
Check on the sample Color, coverage, detail and how the printed area feels and moves, followed by the agreed care check. Ask about direct printing
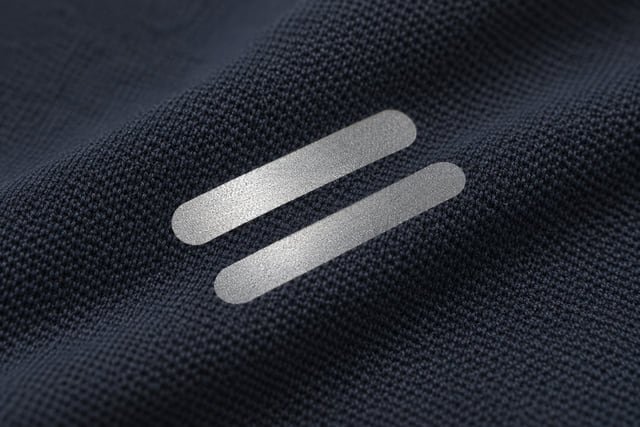
Technique illustration / Reflective strips catching the light 05 / Reflective details
Place the detail Discuss a reflective logo, strip or trim alongside the garment design. The material and attachment method depend on the fabric and intended use.
Think about Strip width, seams, movement and washing. Tell us early if the garment has a specific visibility requirement.
Check on the sample Placement, attachment and the agreed material. Reflective details alone don’t make a garment certified protective clothing. Discuss reflective details
Technique examples shown on reference fabrics. We’ll confirm the finish on your chosen fabric.
Explore details to check on your sample ↗
Compare at a glance
What changes The right choice depends on your logo, garment and use. There’s no single finish that suits every order.
Decoration finishes and what to review on the sample Method What you see & feel Look closely at
Embroidery ↗ Finish Thread textureSample check Small letters, fabric shape and backingHeat transfers ↗ Finish A heat-applied layer; thin or raisedSample check Edges, flexibility and fabric compatibilitySilicone & PVC patches ↗ Finish A separate shaped badgeSample check Thickness, attachment and comfortDirect printing ↗ Finish Ink on fabric; feel varies by finishSample check Coverage, color and fine detailReflective details ↗ Finish Light-reflecting logos, strips or trimSample check Material, position and intended use
Washing matters for every method. Tell us about your laundry process so we can agree the material and sample checks.
Placement illustration · Mark each logo position and agree its actual width. Size & placement
A good logo needs Send us the garment and your preferred positions. We can help you see how the artwork sits on the chest, sleeve, back or another area.
01 Read it at the intended size Fine lettering can look clear on a screen and become too small on the garment. We’ll review the actual dimensions.
02 Leave room for the construction Pockets, seams, zips and folds can affect placement. Check the position on the garment sizes you’ll order.
03 Keep the range looking consistent A polo and a jacket may need different logo sizes or methods. Compare the result across the garments, not just the artwork files.
Get help with logo placement
From visual to physical sample
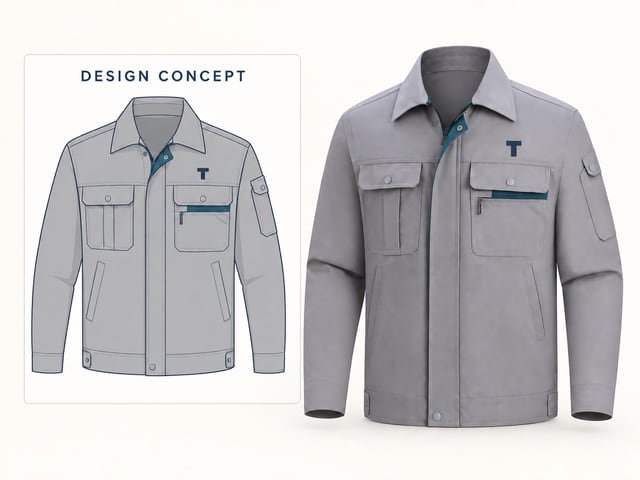
See it on screen. We can help with free design visuals showing the logo’s size and position. A physical sample lets you check the finish on the chosen fabric before production.
Start with what you have Send the best logo file available, a garment reference and the finish you like. We’ll tell you if a clearer file or an artwork adjustment is needed.
Agree what to sample Confirm the artwork, colors, dimensions, placement and care requirements. Custom samples are arranged and priced separately.
Design concept · Agree the look before checking a physical sample.
A few practical questions
Before you Not sure which method to use?
Ask our team
Can the same logo be used on different garments? Yes, but we’ll review each fabric and position. A method that looks right on a smooth shirt may need a different approach on fleece or a lined jacket. The artwork can stay consistent while the application is adjusted.
Is heat transfer always a layer of silicone? No. Heat transfer describes how the graphic is applied. Materials can include different inks or films, and silicone is one option. A thin or raised finish alone doesn’t tell you what the material is.
Can you match our brand colors? Send your color references or brand guide. We’ll compare the available thread, ink or badge colors and review physical samples. A screen preview is useful for the layout, but it isn’t the final color reference.
Can we add staff names or different logos within an order? Tell us which garments need different artwork, along with the quantities and positions. We’ll confirm the files, method, cost and how the garments should be identified and packed.
Let’s look at your artwork
What would you like Show us the logo, the garment and the look you have in mind. We’ll help you choose the next step.
More brand details Carry the same identity through neck labels, hangtags and other finishing details.
Labels & trims